After attending a bag making retreat at the end of May, I got off on a bag making jag. Someone (well probably several people) at the retreat were making these "Dayna Packs" (find the pattern on Etsy). I needed a couple of birthday gifts and thought these would be great for that so I got the stuff and made a couple.
I've seen a million pix posted of these bags and everyone does them differently in the sense that they choose different fabric, hardware, embellishments and added features (e.g., extra pockets, card slots). I didn't want to make mine of quilting fabric - I wanted something a bit more substantial so I went to PacCana in Calgary and picked up some denier nylon with rubberized backing. PacCana also has hardware, strapping and zippers. The rivets are from Tandy Leather.
Around that time I got my new Baby Lock Aventura II machine, which also does embroidery (I sold my two Janome machines - I had to call the technician one time too many to get my older Memory Craft 10000 embroidery function to work). It turns out that denier nylon is amazing for embroidery. I thought it might give me grief, but quite the opposite! So I became hooked on making these darn fanny packs with an embroidered design on the front.

The first one went to bro-in-law Dan. They have a gargoyle statue by their back door and my sister Chris told me she was going to make a gargoyle birthday cake for him so I thought why not a gargoyle fanny pack? I found the embroidery file for the gargoyle on Etsy. Dan is diabetic and carries certain supplies with him so there is a chance he might actually use it.

Then it was Carol's turn (Dan is her guy). They have fish and there is this fish design built in to the machine.


Pam saw the pix of Dan and Carol's and thought she and her Andrew would each like a fanny pack. About that time I discovered a website where I can purchase millions of downloadable embroidery files (I initially got the embroidery function to make labels for my quilts and the 10000 was old enough that it was a challenge to do anything that wasn't pre-programmed into the machine - doable, but a hassle so I just didn't do it very much). Pam wanted the Eifel Tower and Andrew wanted something related to music because he's learning piano. And she wanted me to put their initials on the upper part of the front pocket.


After that, I just started making them! I was trying out embroidery designs that I liked and figured I'd find homes for them eventually.
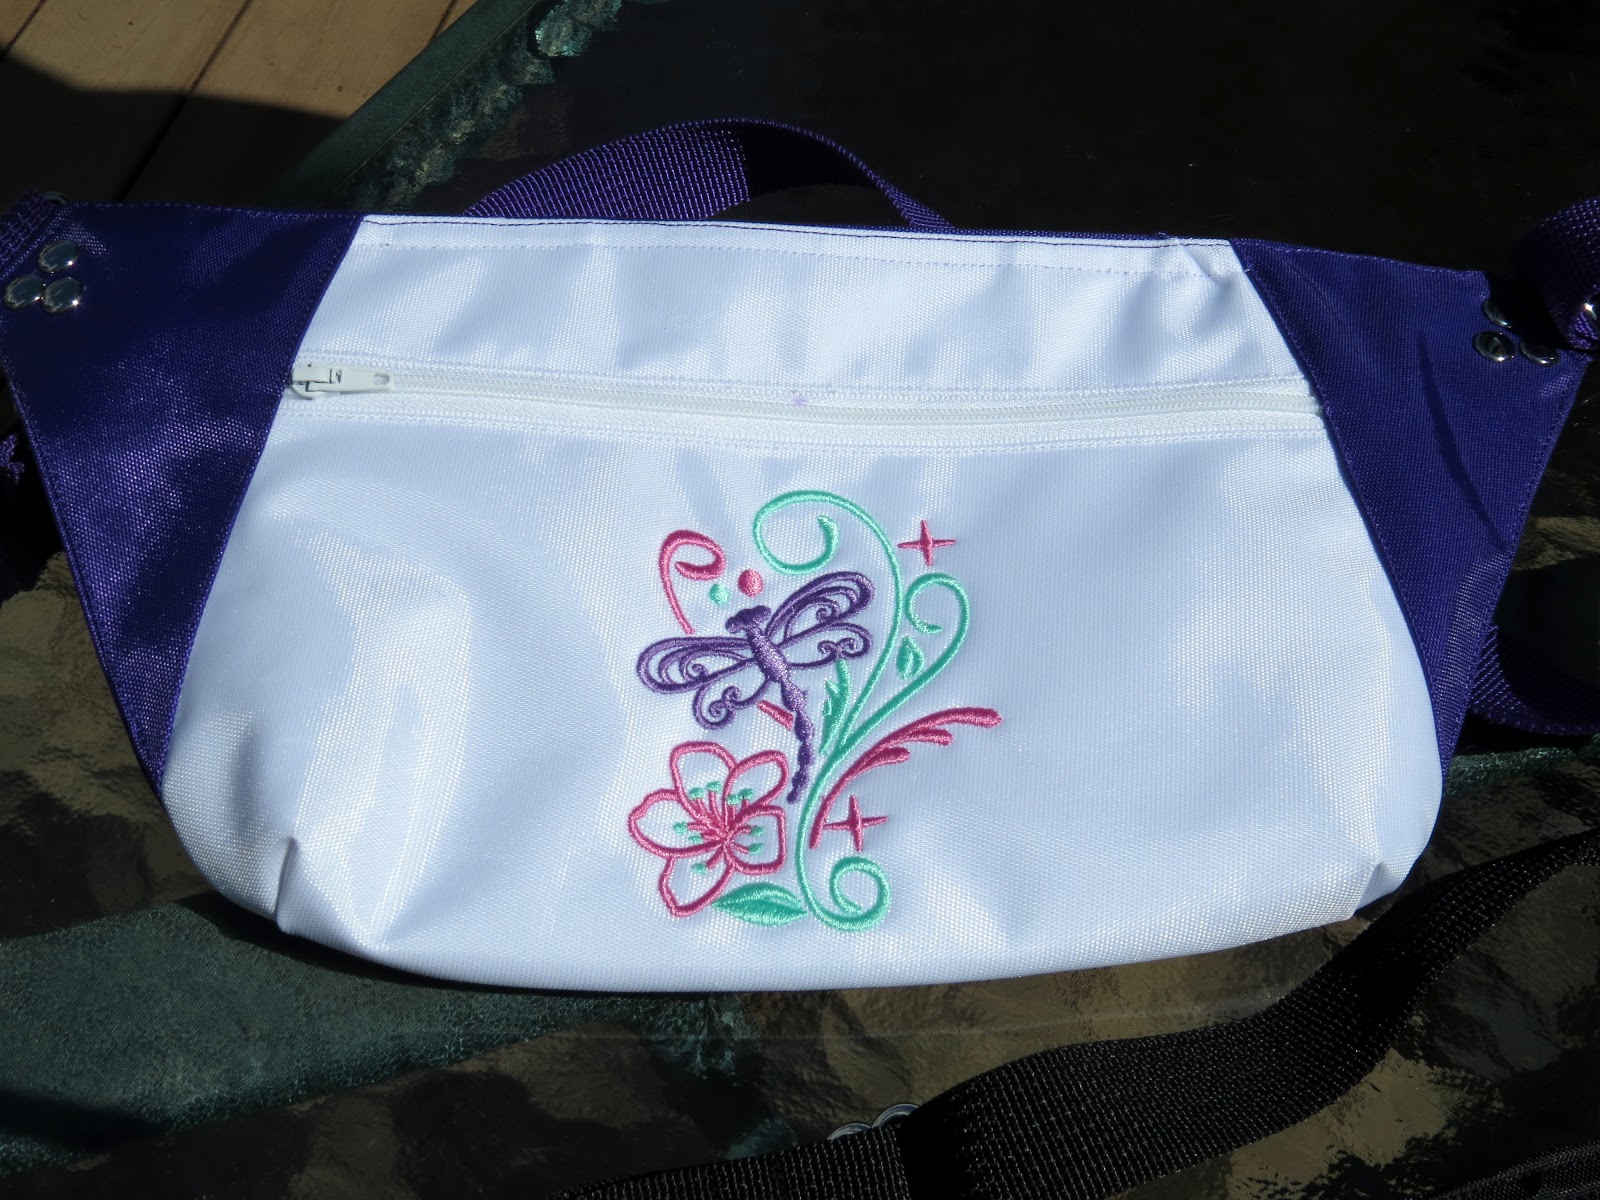
The dragonfly went to Alyssa.

I also started adding a "secret" pocket to the back and credit card slots to the interior. After the first few - all the rest have these two additional features.


I still have the hot rod - it turned out a bit bigger than I envisioned. But eventually someone will really like it.


Motorcycle went to Jason.


I still have this dog - I really like him/her!


Carissa wanted this one.


Kelly got the Sun-Moon. Kelly and Jason's daughters got the baseball, roller derby and unicorn to reflect their favourite things. The sports designs have their personal numbers and in the case of the derby, her derby nick name.


Above - the three girls' packs. Note the unicorn is smaller - the youngest of the girls is just 5 so the regular size would be too big for her.

Chris gets the cupcakes - she's the fancy cake making sister.


Mom asked for one with a butterfly and she likes purple.


Bro-in-law Karl (Chris's guy) is the "Lone Wolf". He is diabetic, too, so may actually use it.


I still have the fish - I did the same design three times so it becomes a school of fish. 😎


And a sun, surf design. Still have this one, too. and the others shown below. I'll be making at least a couple more that are "custom orders".


And "Pow"!


And here are a number of music related designs and an octopus.

I know I missed a few that got away on me before I got pix but you get the idea. I like to take a pix of everything - it's for me to be able to track my stuff so I know this is a bit tedious if you just happened to tumble into my blog.

And in an effort to use up stuff.... I made some more of those window wallets. I used up the last of the IKEA 8" squares - they are like a light weight canvas so not suitable for quilt making. I did a tutorial on how to make these in an earlier post.

 Finally - here is the bag that I made for myself.


